
Add Form Submissions to Shopify Customers with Zapier
Every form submission on your site is a potential customer, and getting that information into your Shopify store quickly can make a real difference in how you follow up and grow your business. With Zapier, you can automatically add the details from your POWR Form Builder submissions directly to your Shopify Customers list, with no manual copying or importing required. Each time a visitor completes your form, a new customer record can be created in Shopify within moments. In this article we’ll walk you through how to connect POWR Form Builder to Shopify using Zapier so your customer list stays up to date automatically.
Zapier enables you to automate tasks between POWR Form Builder and other online apps (i.e. Mailchimp, Constant Contact, Shopify, etc.).
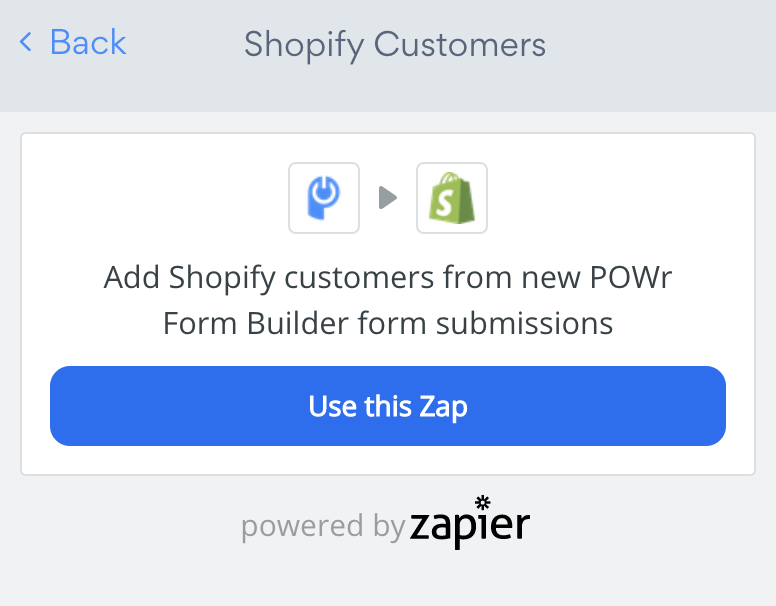
1. Navigate to the Shopify Customers Drilldown
Open your POWR Form Builder app.
Navigate to Settings > Shopify Customers.
Click on Use this Zap.
Log in or Create a Zapier account.
2. Choose Trigger
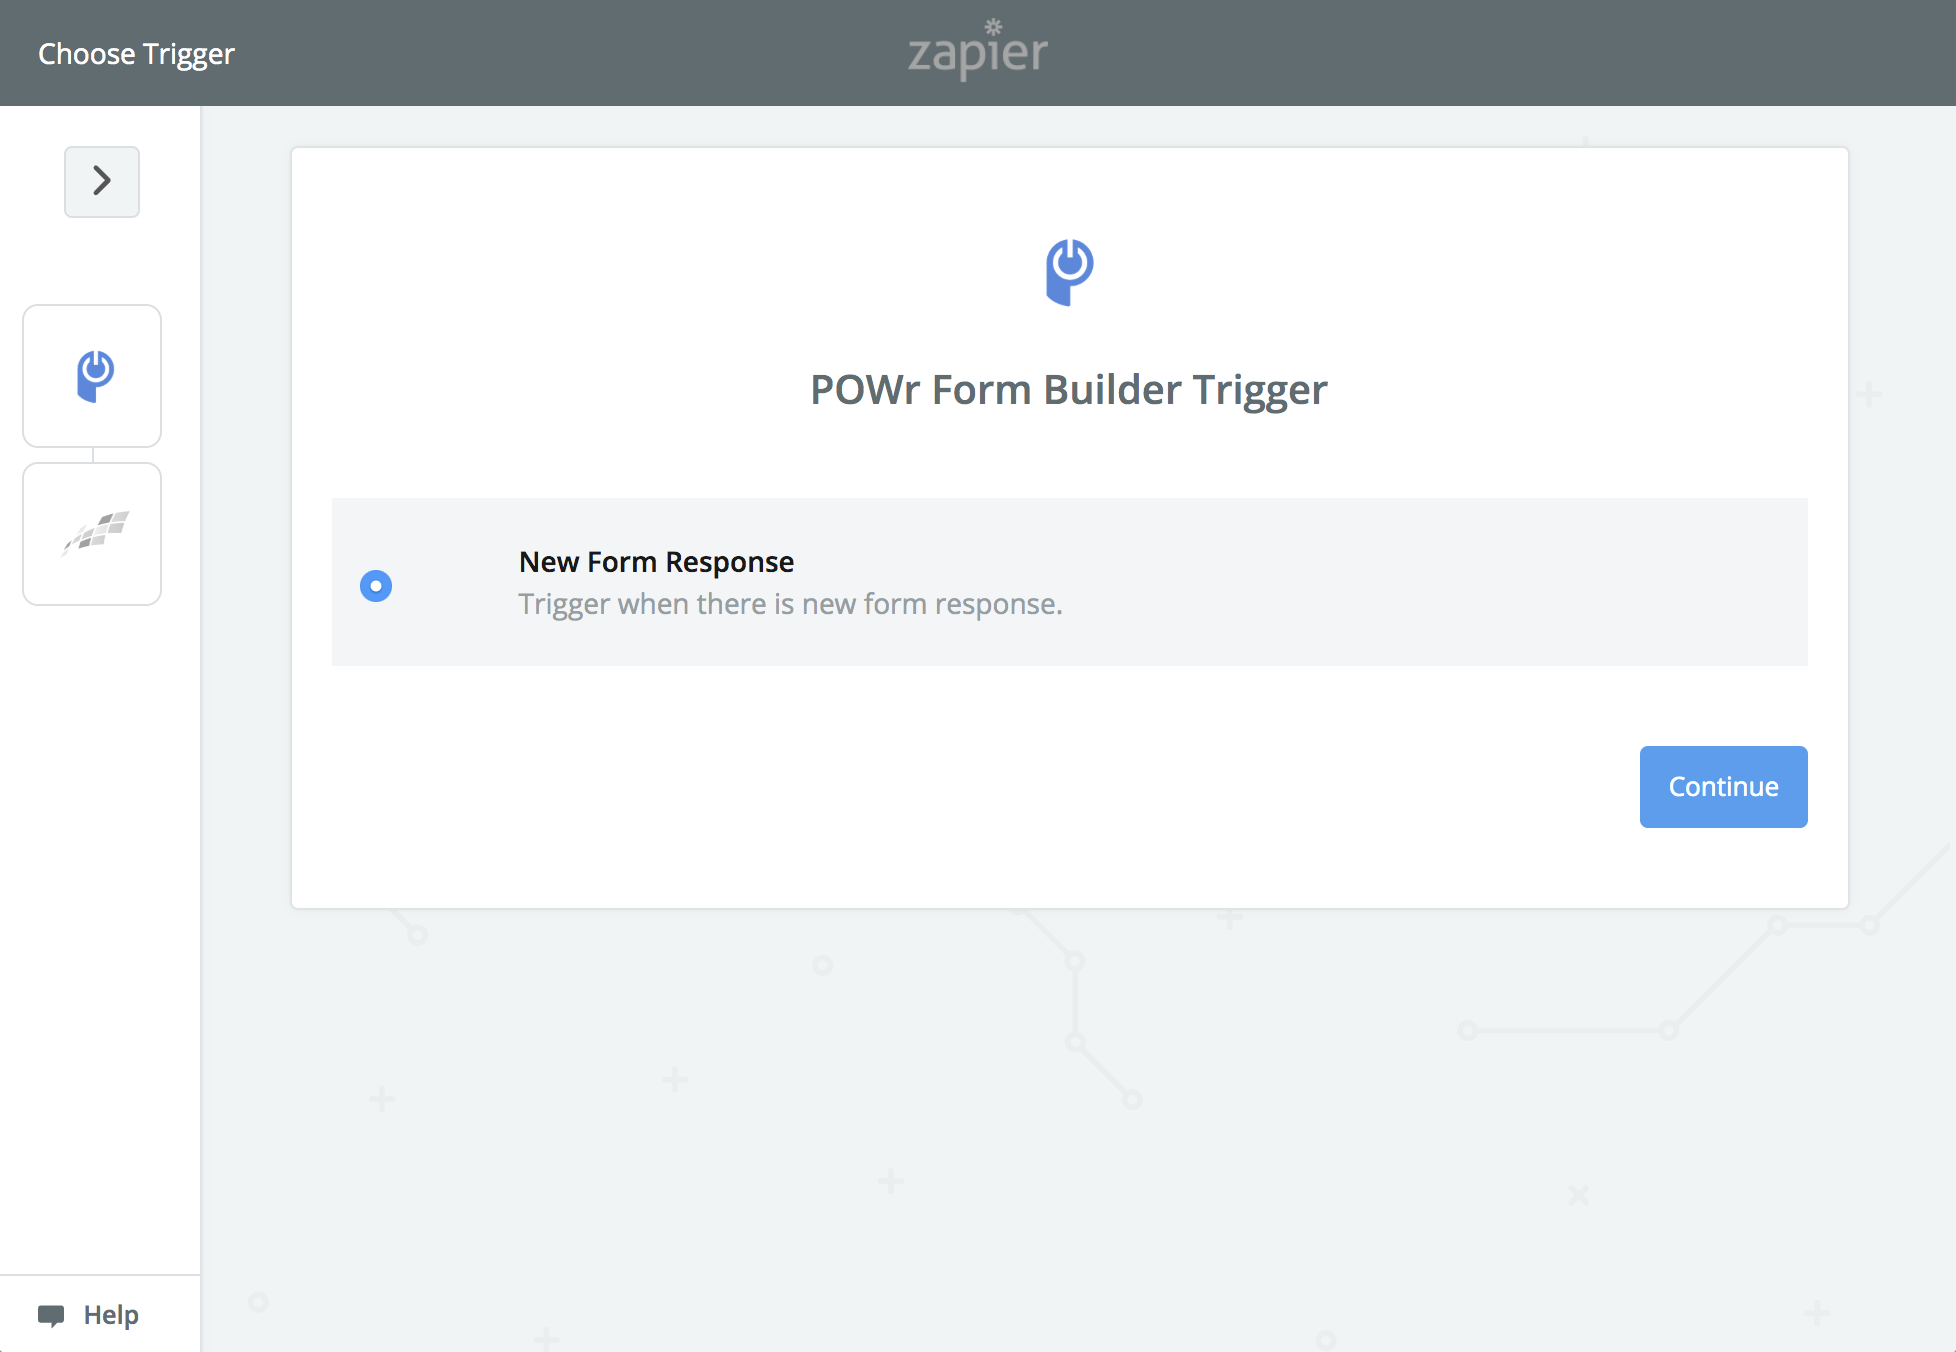
Select New Form Response
Click Continue
3. Choose Zapier Account
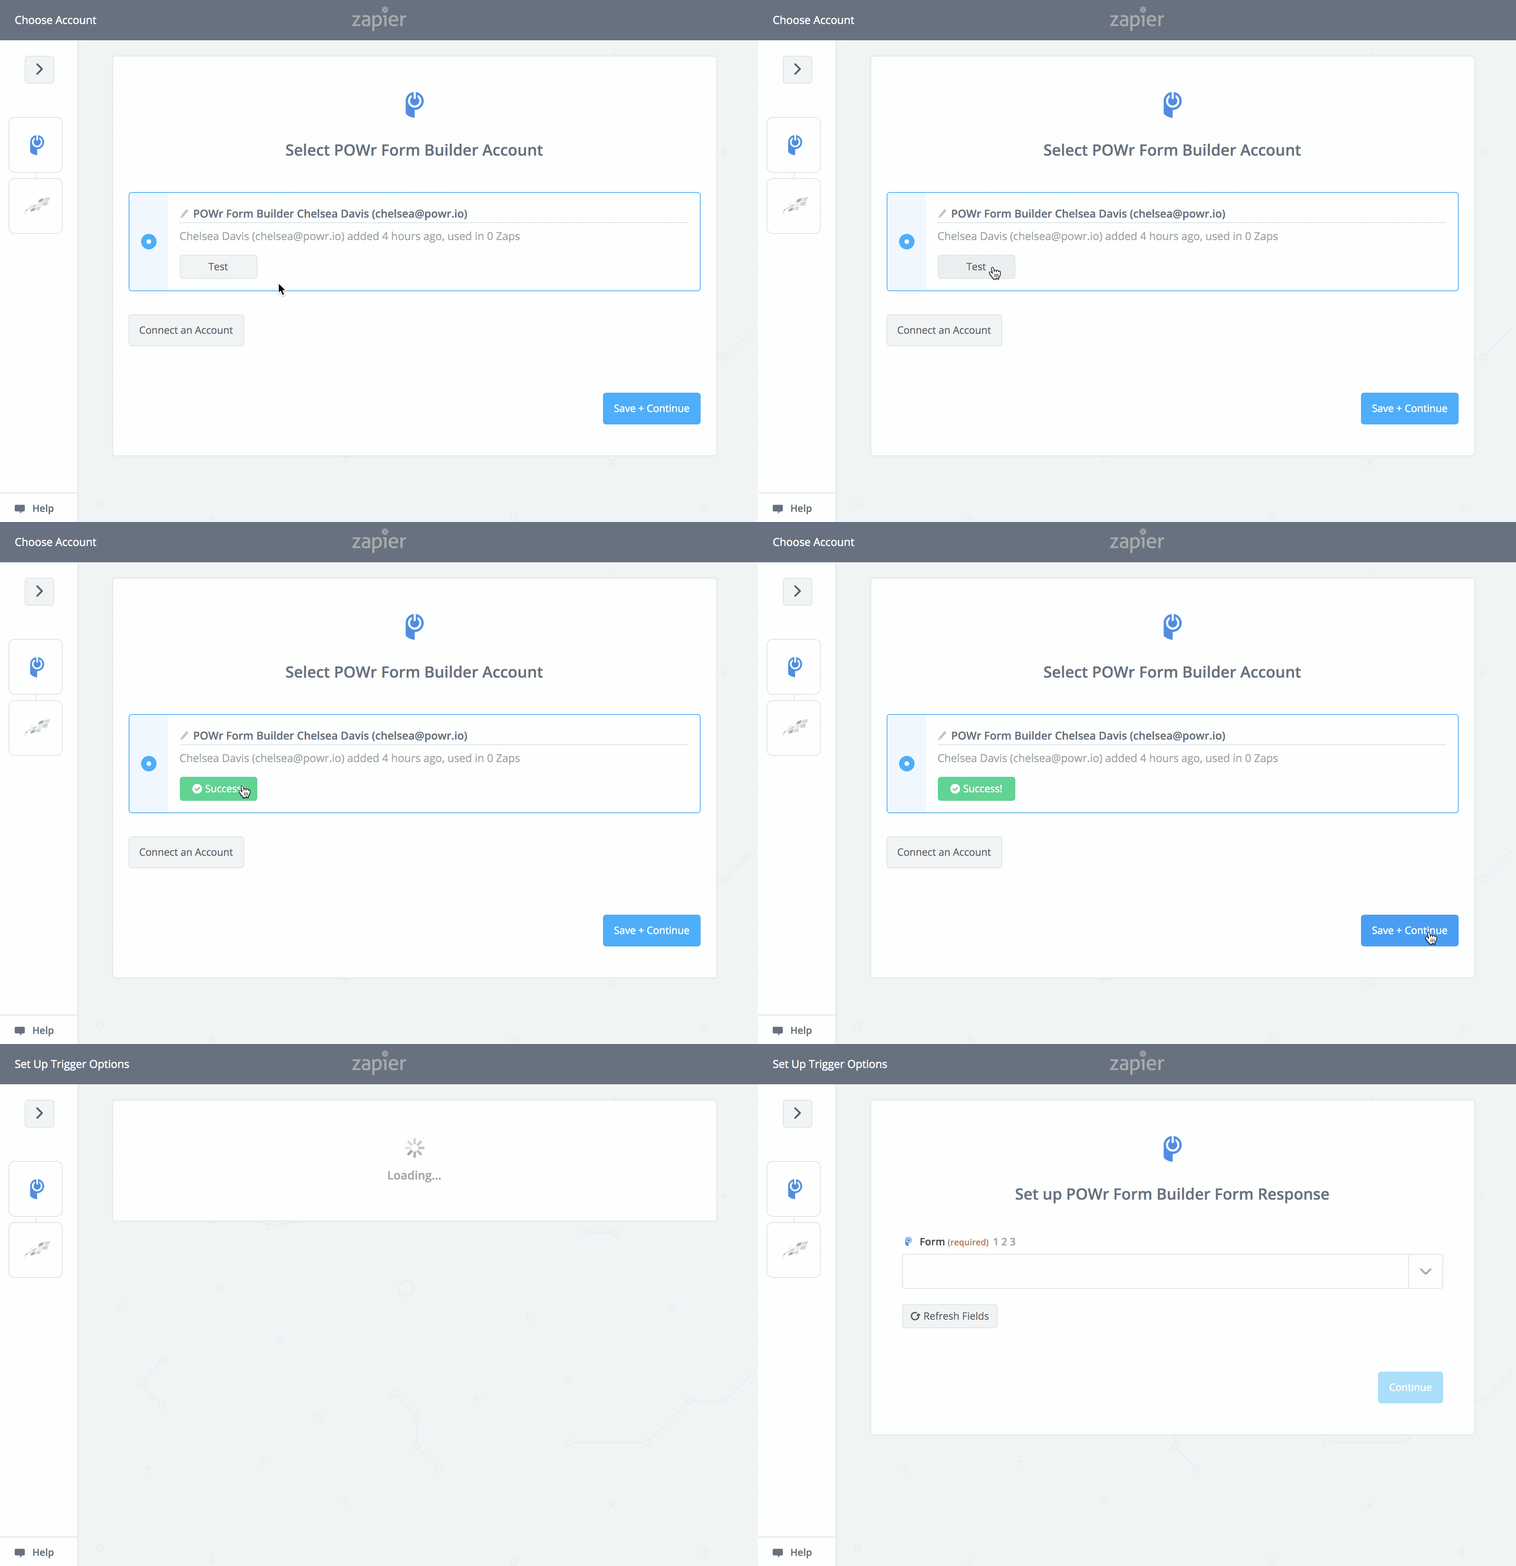
Make sure the correct POWR account is connected
Click Test
Click Save & Continue
4. Select POWR Form
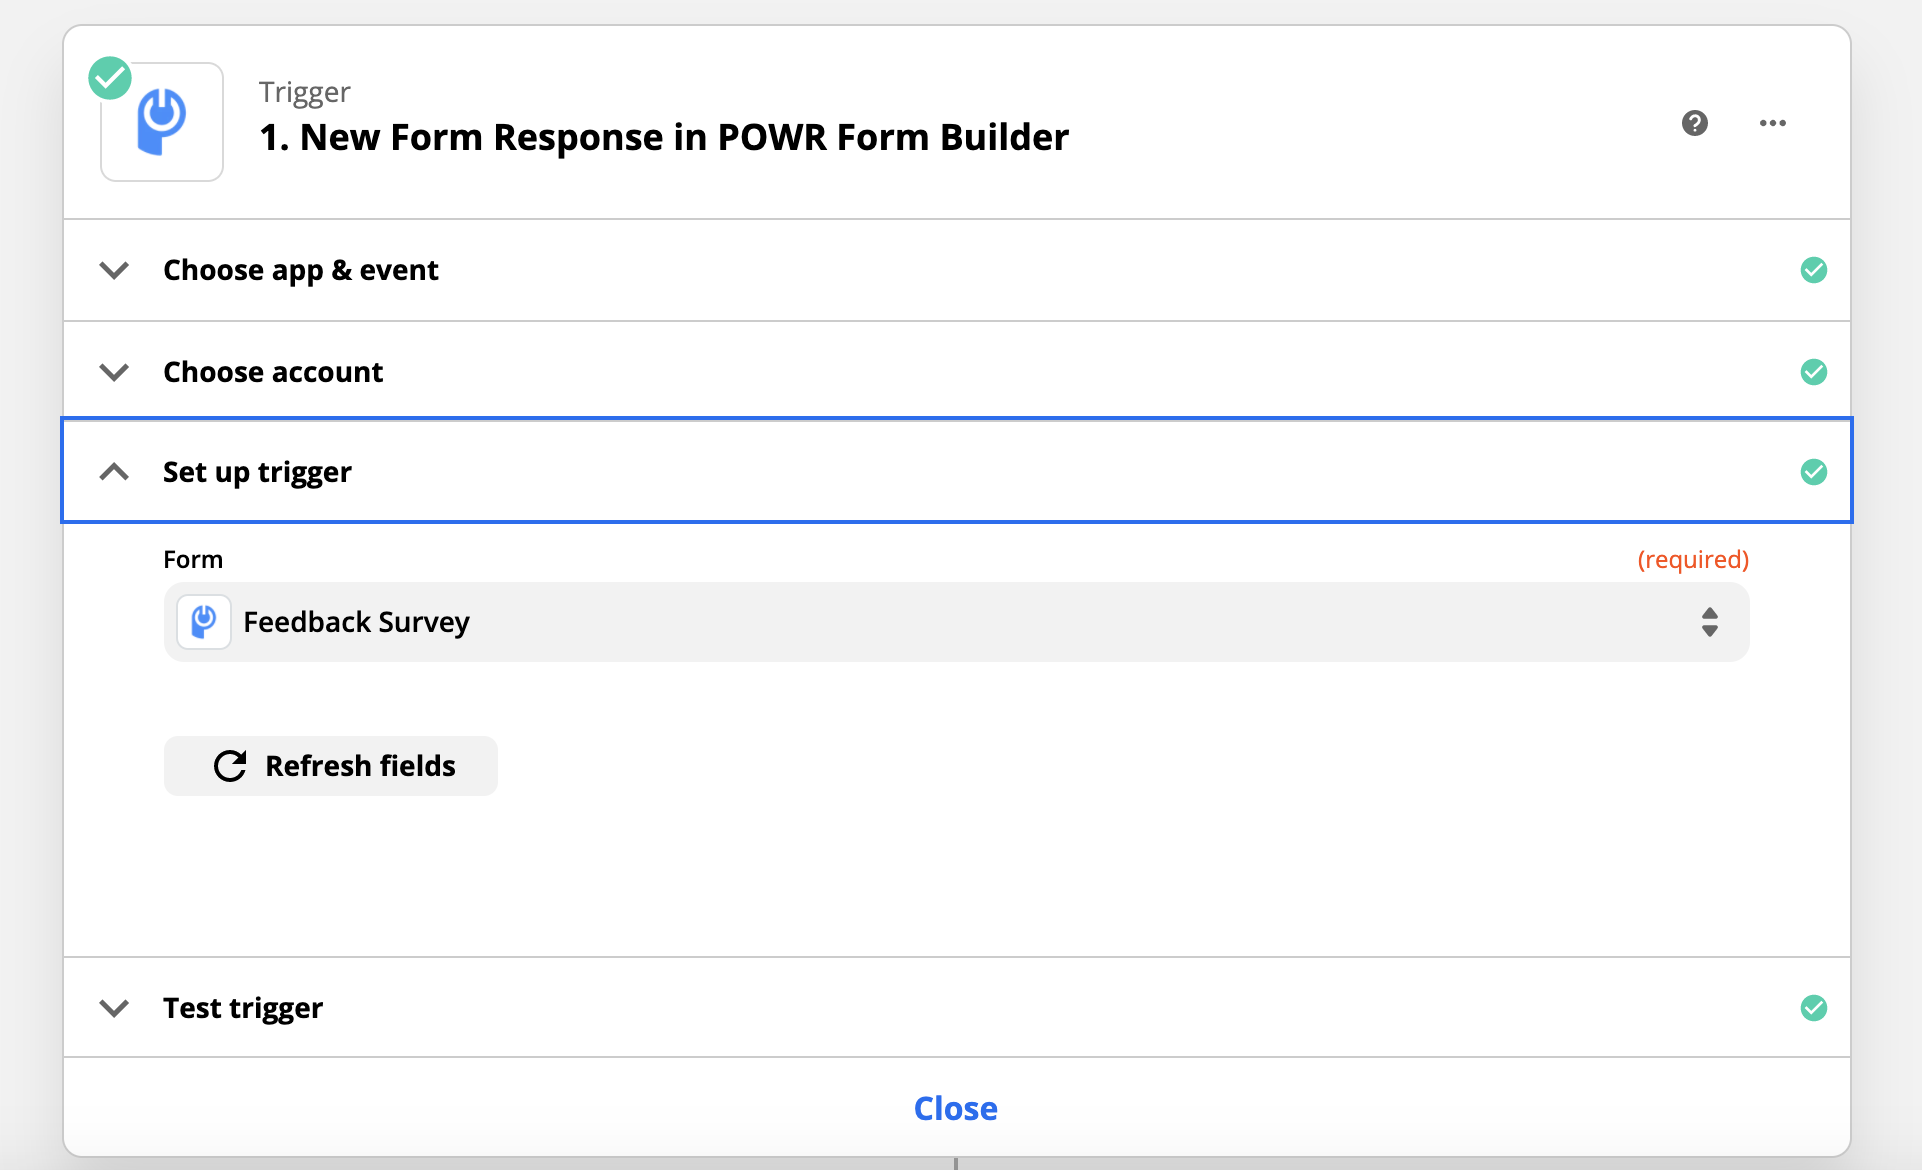
From the dropdown, select the POWR form you want to connect to Shopify Customers
Click Continue
5. Test Your Form
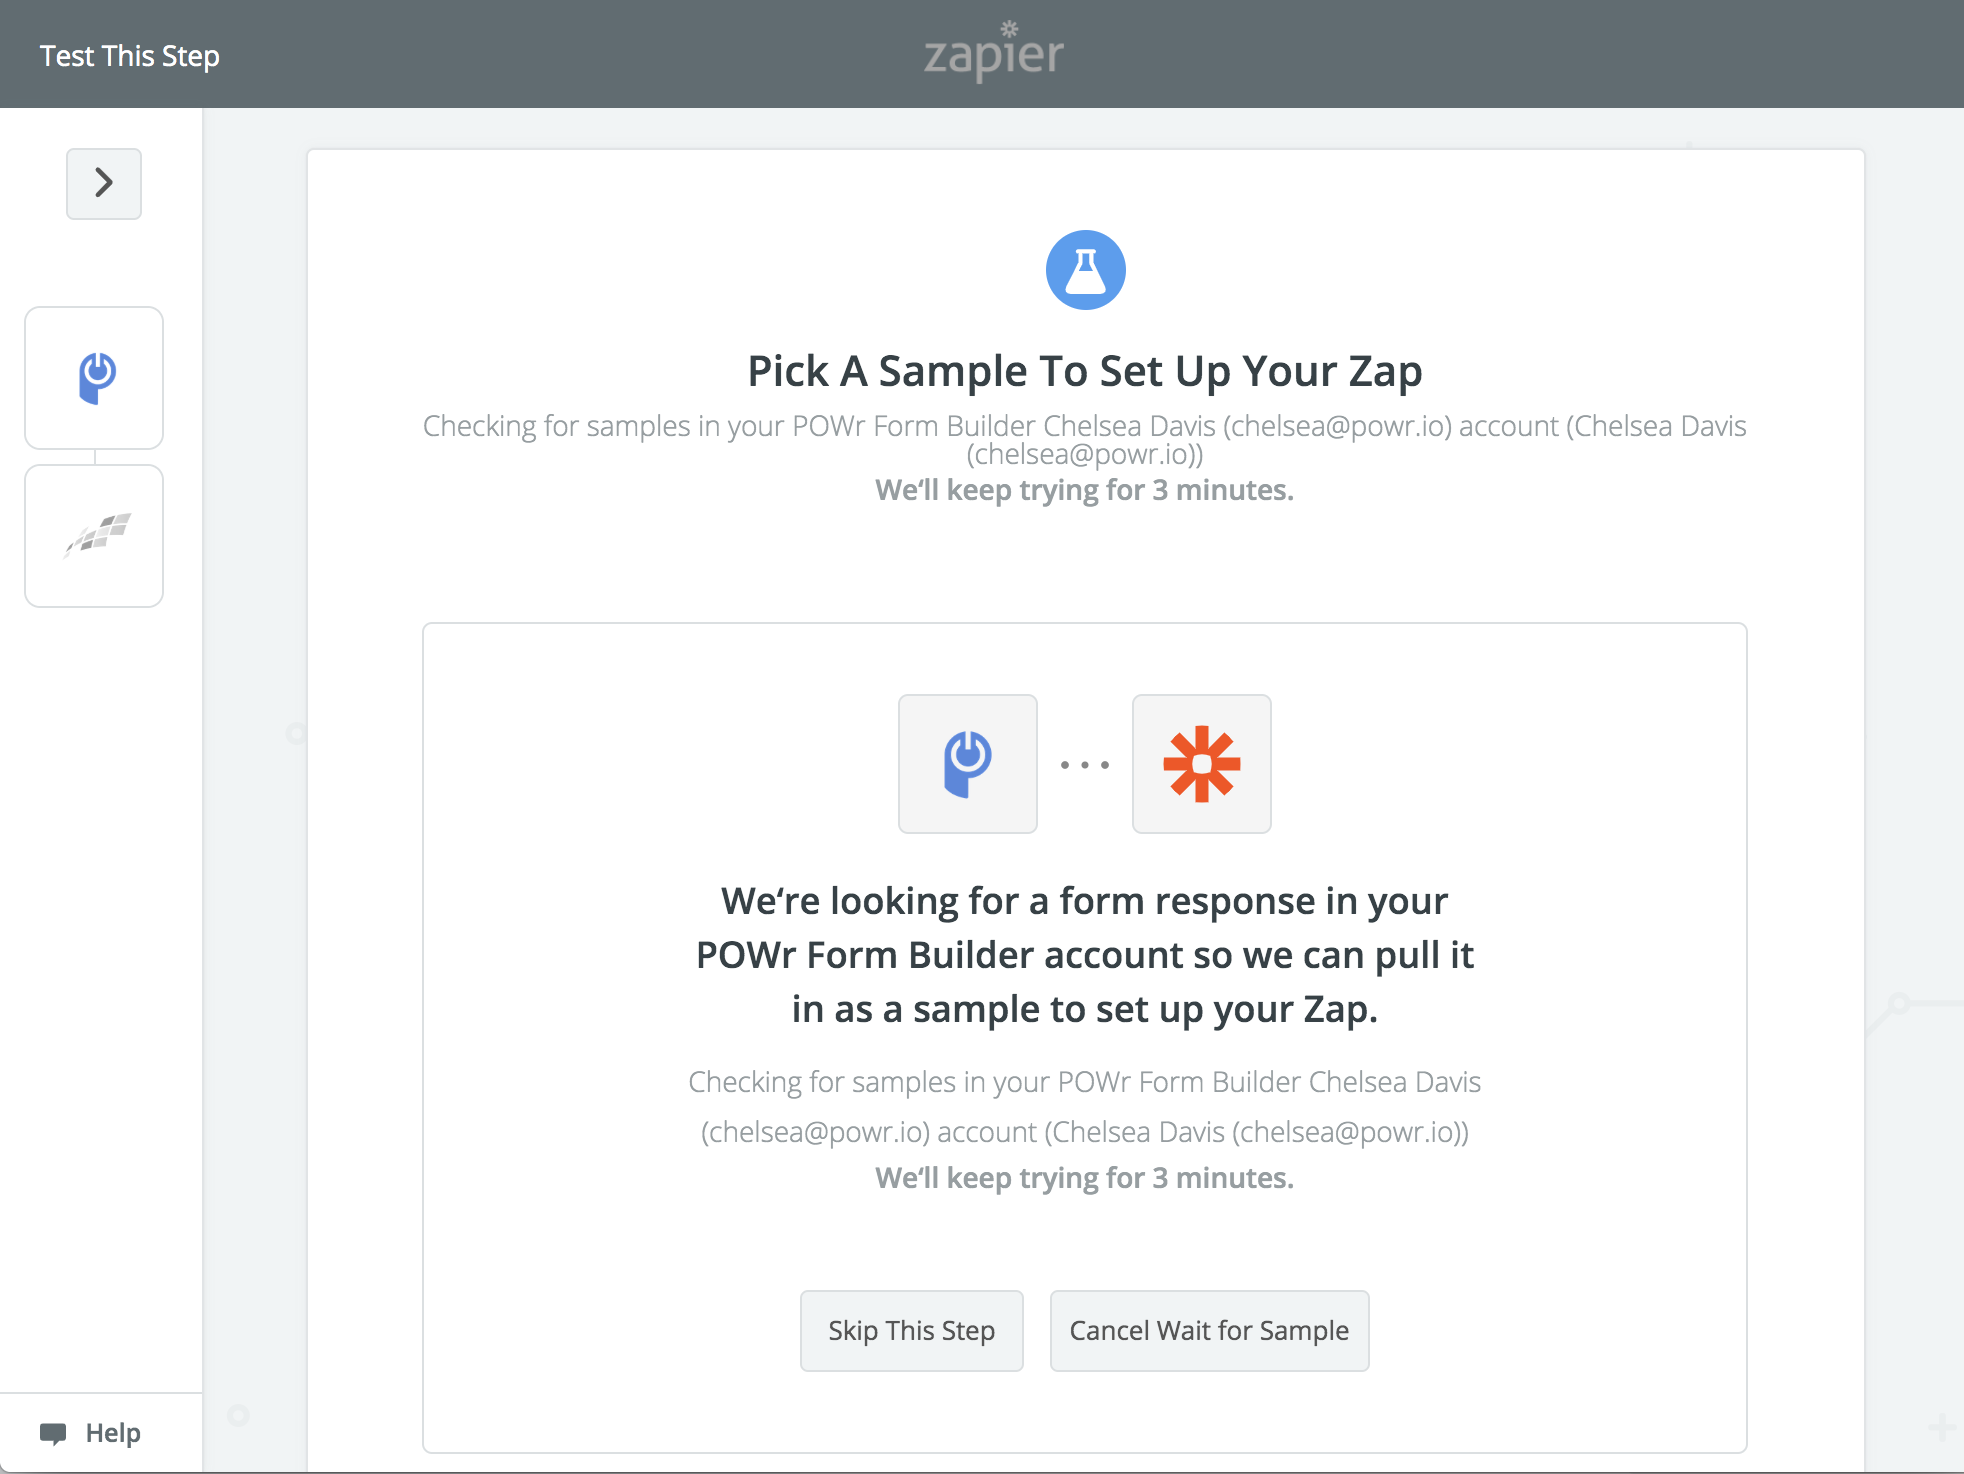
If you haven't already received a submission to your form, the "Pick A Sample" screen will say it is looking for a form response. If it continues looking for a response, make a test submission to your POWR Form.
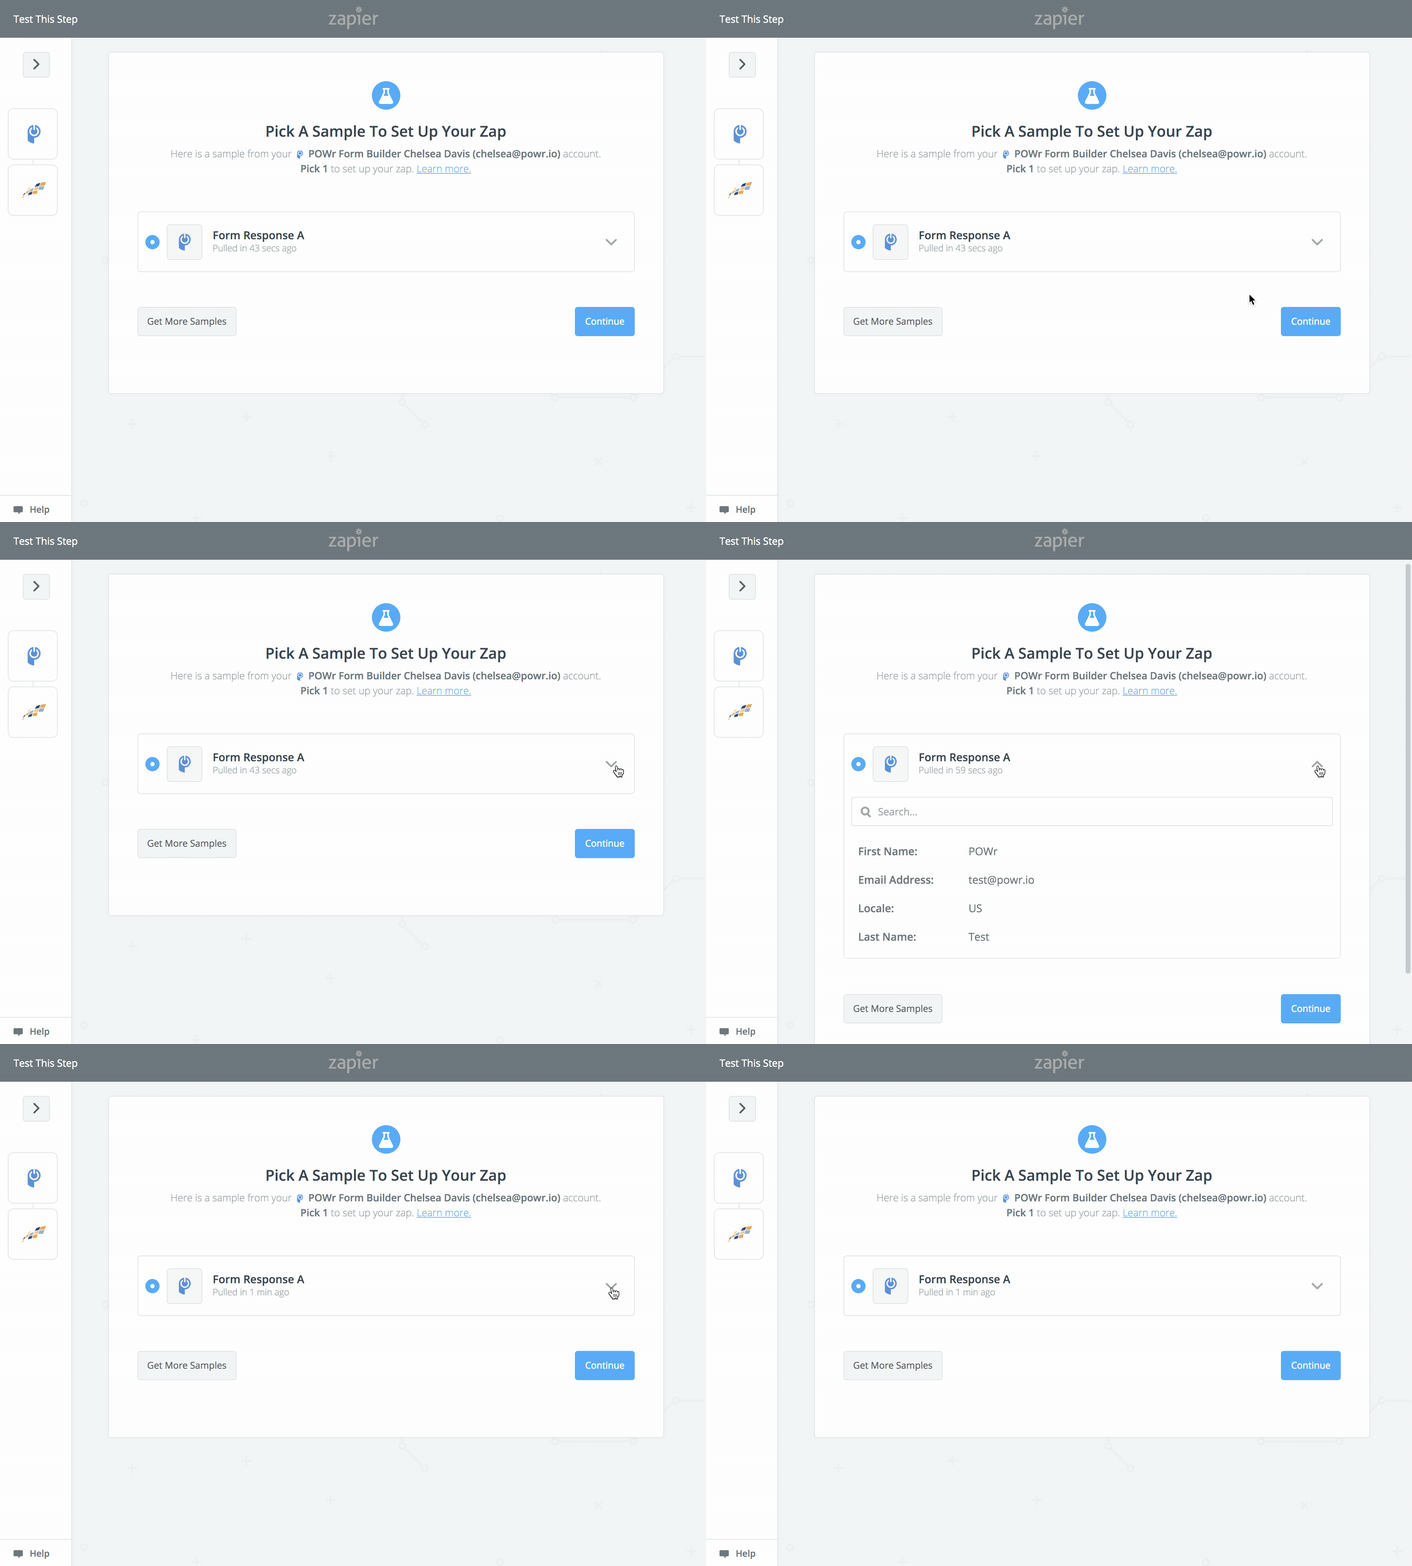
Once you make a test submission, click Pull Samples. You should then see the details of your test submission when clicking the down arrow.
Click Continue.
6. Connect to Shopify
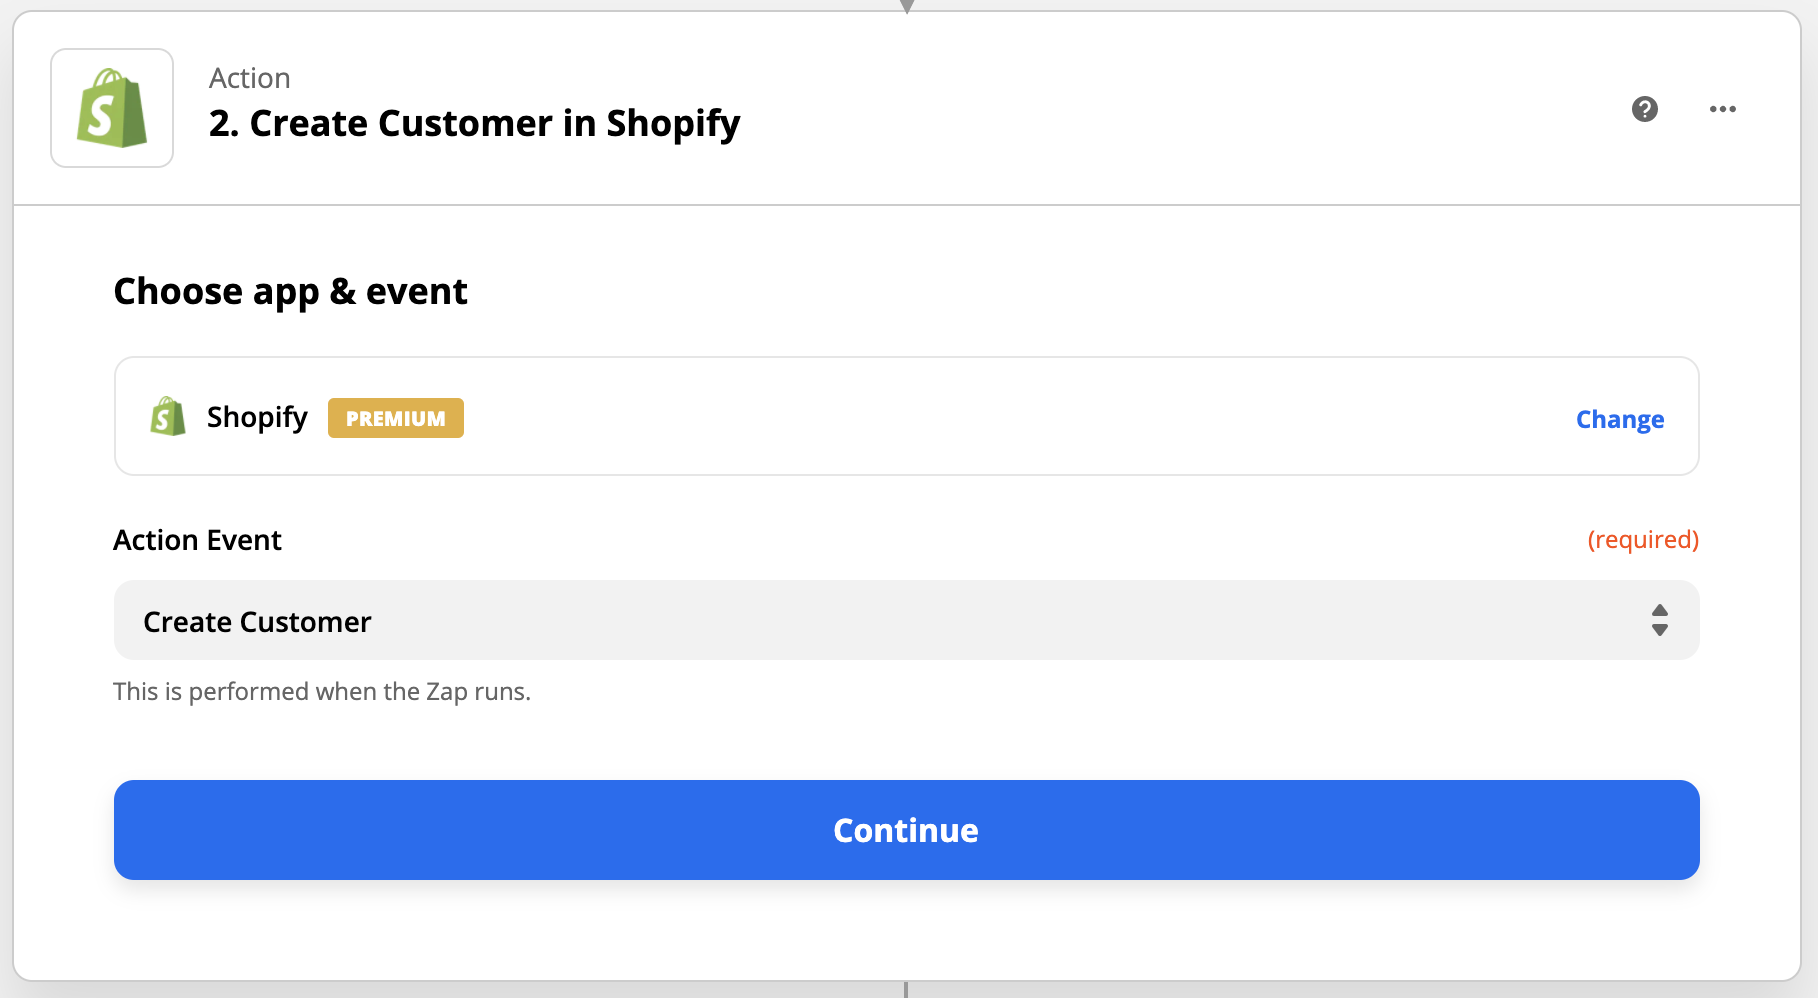
Follow the prompts to connect to your Shopify Account. Choose Create Customer as your action and click Continue.
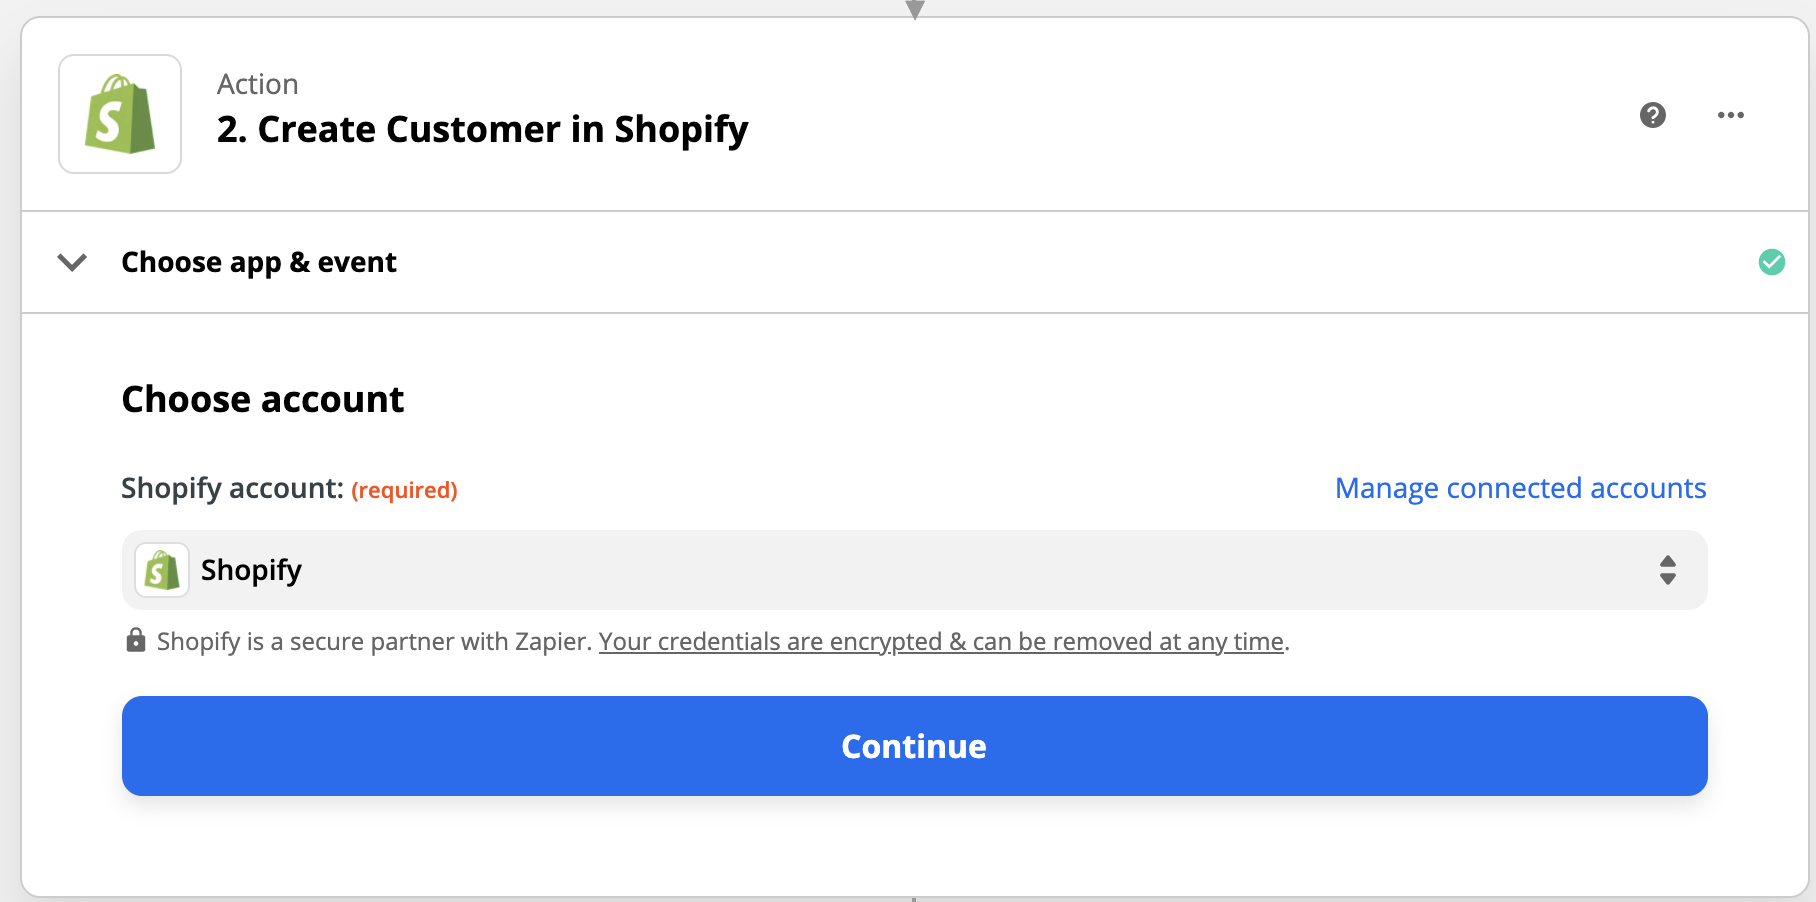
Confirm the correct Shopify account is selected and click Continue.
From here choose the POWR Form fields to map to your Shopify Customer fields.
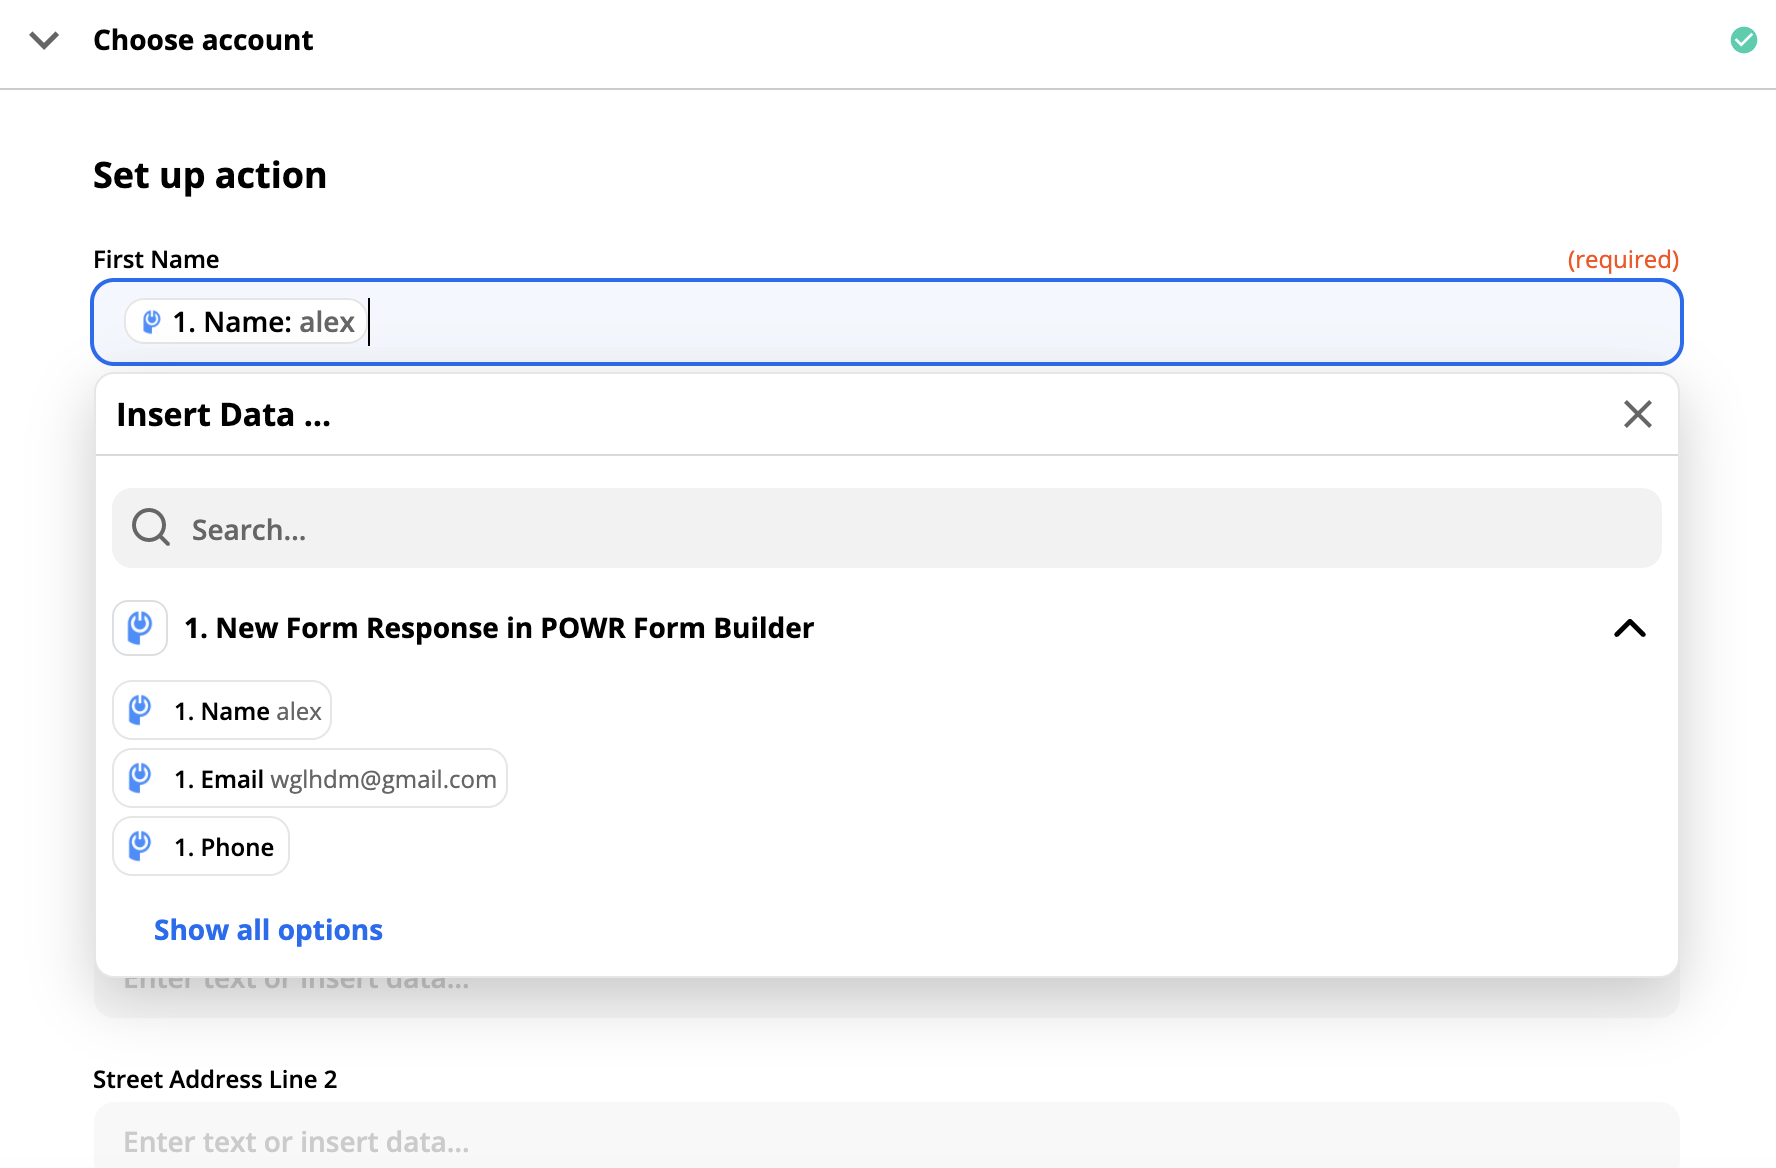
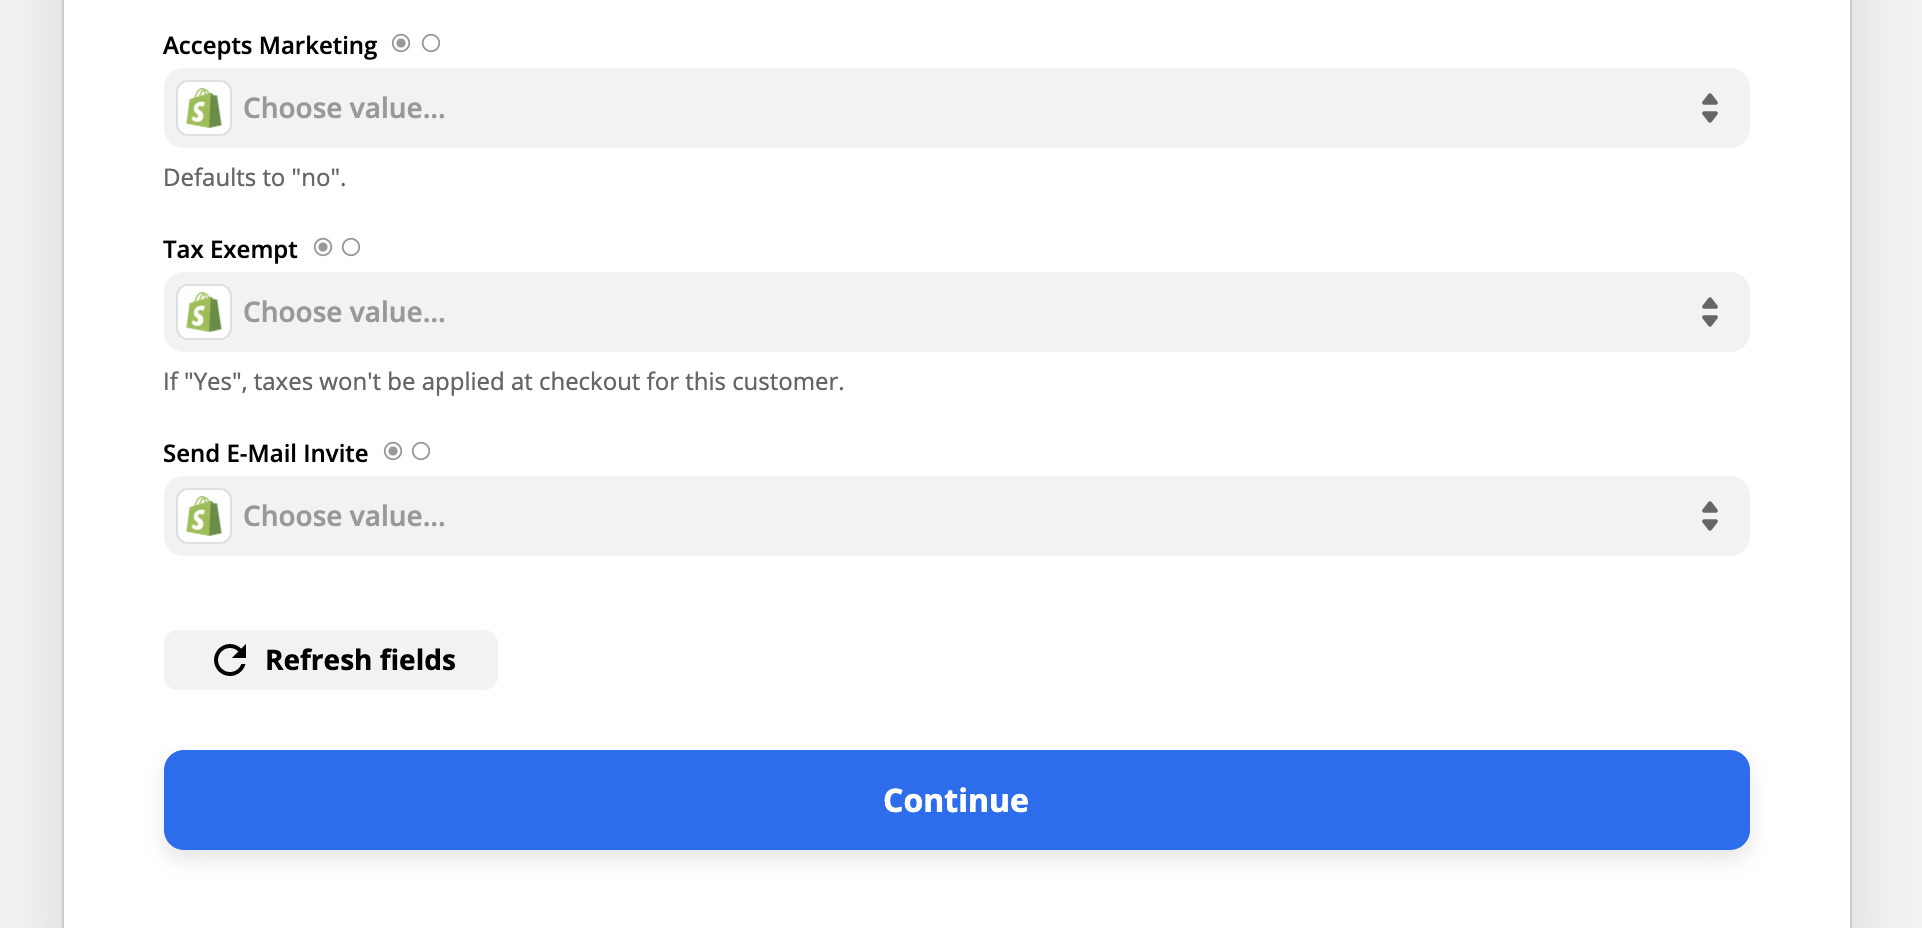
Be sure to set up marketing and tax information. When finished, click Continue.
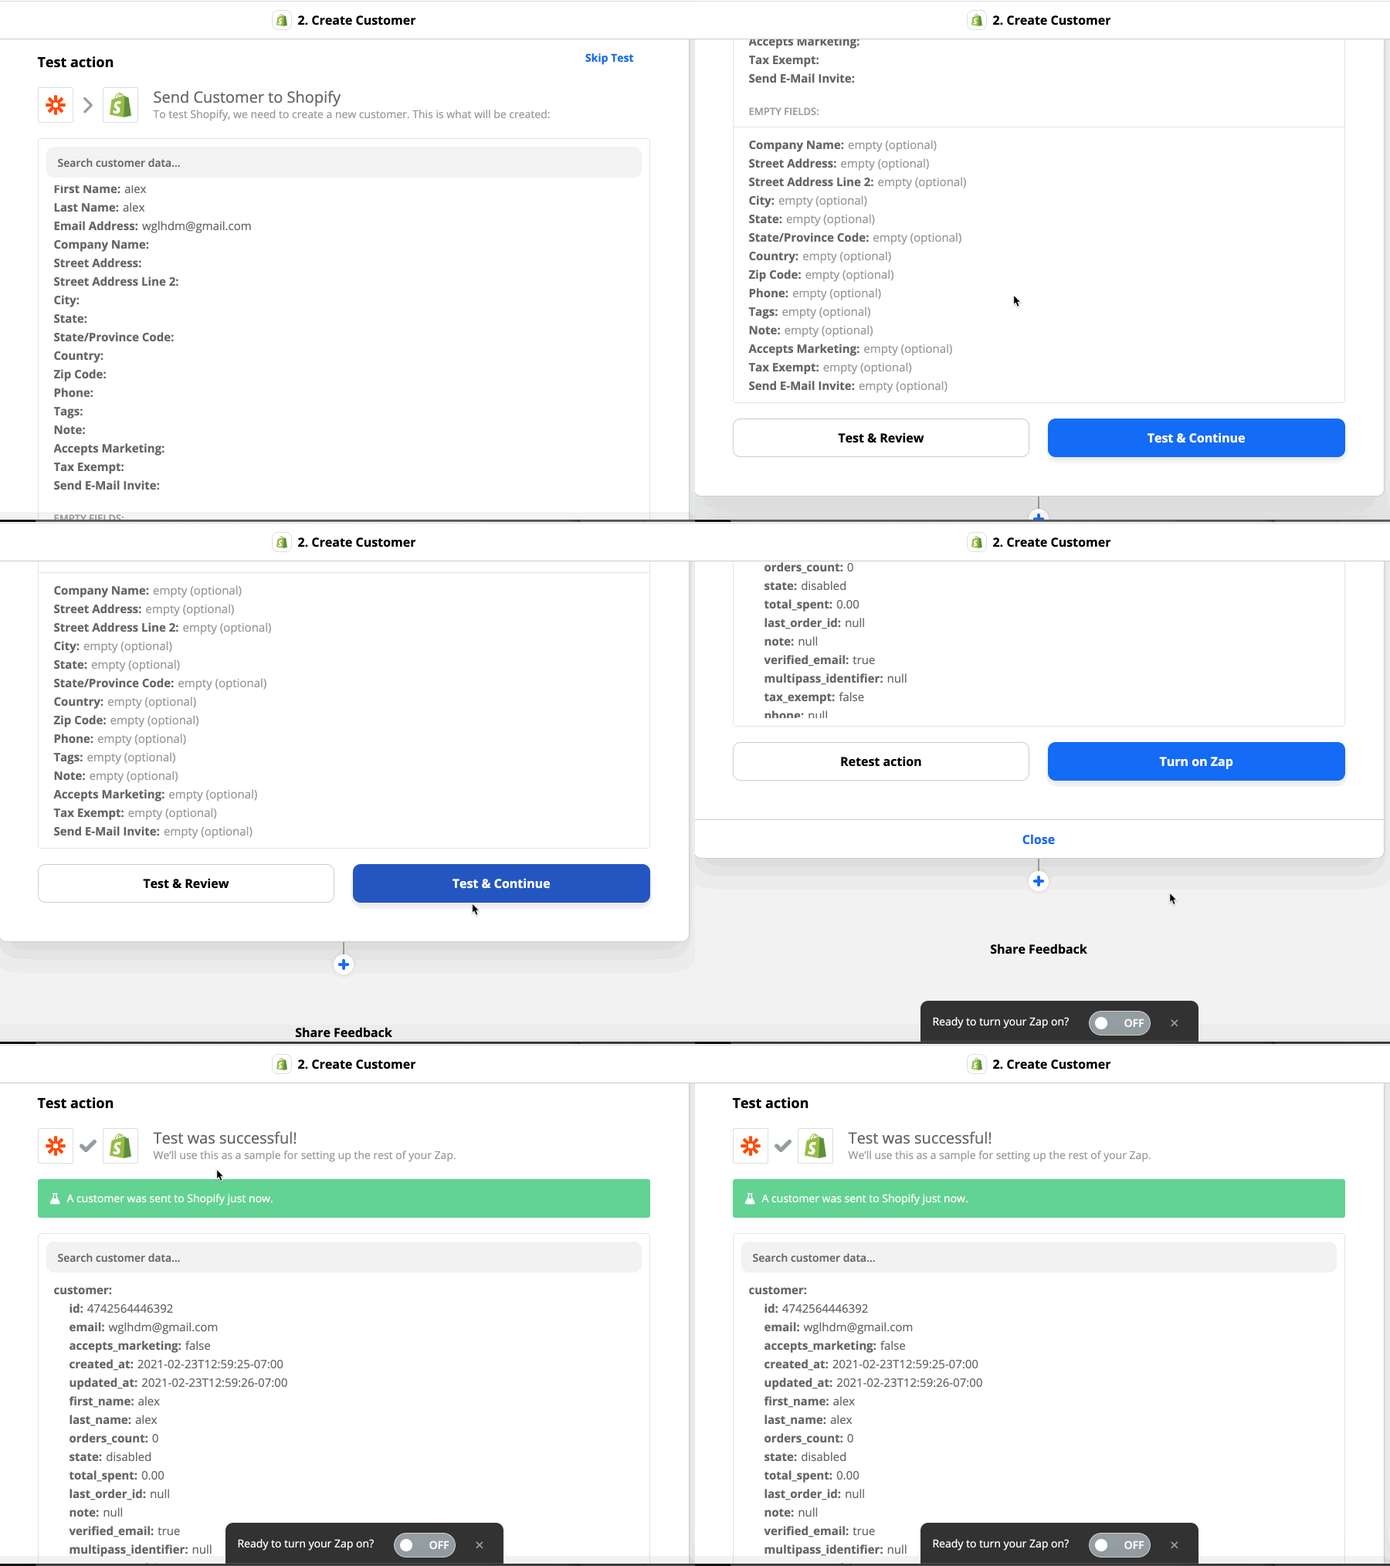
7. Test the Zap
Click Test and Continue to ensure your contacts sync correctly.
Then click Turn on Zap.
Your Zap is connected now! Check that your test form submission is now in your Shopify Customers list.
Important: To manage your Zap moving forward, you will need to do so through Zapier.com and NOT through your POWR Form.
Connecting your POWR forms to Shopify Customers through Zapier is a simple way to save time and make sure every new lead lands exactly where you need it. Once your Zap is turned on, new submissions will be added to your Shopify customer list automatically, so you can spend less time on data entry and more time on running your business. If you run into any trouble setting up your Zap or have questions about mapping your form fields, our support team is always here and happy to help, so don’t hesitate to reach out!
Need Help?
If you need help or have questions about our apps, our support team is happy to assist.
👉 Contact our support team
When you contact us, you'll be prompted to authenticate your email by signing in, and we'll email you a confirmation code. This helps ensure our support team's reply reaches you without issues.
For more information about available features, visit our Pricing Page:
https://www.powr.io/pricing